How to Install Kali Linux 2016.2 & VMware Tools in VMware Workstation 12 (Full Guide)

Hello Friends., In this post I will show you how to install Kali Linux 2016.2 in VMware Workstation 12 pro.There are issues in getting the Kali Linux to display in full screen mode, most notably in getting the 1920×1080 resolution. for that we'll install VMware tools in Kali it Will fix that also.
So Lets Get Started...
Step 1 – Download Kali Linux ISO image
To install the Kali Linux, we will have to first get the
installer ISO image file. You can get it by visiting the official Download page. Please download the 64 bit or 32 bit image
depending on the system you have. Dont get confused by the many options
available such as Kali Linux 64 bit Mate or Kali Linux 64 bit Xfce. They are
all the same except for the desktop environment. LXDE, Mate, Xfce are various
open source desktop environments. I use the first image Kali Linux 64 bit, but
the choice is yours. It does not really matter.
Just remember that Kali Linux 64 bit Light is the minimal distribution
which will not contain all the features. You will have to install the tools you
want later on. There is also an option to download the VMware image directly.
But I prefer to create my own Virtual Machine which has all the tools
installed, which this blog is all about. Since the file size is large, around 3
GB, I prefer to download via torrent because it is fast and flexible.
Step 2 – Locate the downloaded file
You can find the downloaded image file in the downloads
folder, if you have not changed the default settings. The filename would be
something like kali-linux-2016.2-amd64.iso. If you have downloaded through
torrent, the ISO file will be downloaded in a folder, folder name would be
something like kali-linux-2016.2-amd64.
Step 3 – Open VMware Workstation 12
Lets start the installation process. Open VMware Workstation.
If you don’t have it installed already, Click Here.
Step 4 – Launch VMware Workstation New Virtual Machine
installation wizard.
You can launch this by clicking Create New Virtual Machine
button on the home screen or go to menu File -> New Virtual Machine. The
keyboard shortcut is Ctrl + N on Windows. VMware workstation supports tab view,
which is, all the virtual machines running or stopped will show up in its own
tab until you close them by clicking X on the tab itself. It’s the same as you
see in the browsers where webpages open in separate tabs rather then separate
windows. In software development terms, this is commonly referred to as the
tabbed interface.
Step 5- Welcome to the new Virtual Machine Wizard dialog box
appears
This is where you get a chance to select the way virtual
machine will be created. Typical is predefined or mostly the defaults. Custom
is where you get to set advanced options such as compatibility with older
Virtual Machines, SCSI controller type, etc. We will go with the default
options. Select Typical and click Next.
Step 6- Select installation media or source
In this dialog box you will have to browse to the downloaded
ISO file and click next. Generally, VMware Workstation detects the OS
automatically and initiates what they call as the Easy Install. But in the case
of Kali Linux this is not the case and you will see a warning(yellow triangle).
Please ignore that and click next to continue.
Step 7- Select Guest Operating System
In this dialog box, you will be asked to select the Guest
Operating System. Select Guest operating system as Linux and Version as Debian
7.x 64-bit or 32 bit depending on your system. Please do not select Debian 8.
In Debian 8, I realized that I was not able to get Kali Linux to work in full
screen mode.
Step 8- Select Guest Operating System
In this dialog box, you will be asked to provide the name of
the virtual machine. You can provide any name you like. You can also change the
location of the virtual machine. Bu default is place in the Documents/Virtual
Machine folder. Leaving it as the default is also fine.
Step 9- Specify disk capacity
This dialog box asks you to specify the disk capacity. This
is the maximum amount of disk space it will utilize once the Virtual Machine is
created. You can leave it to the default but if you are running low on disk
space, you can reduce it to 20 GB. This is generally sufficient if you are not
planning to install heavy disk using software’s such as Photoshop. Such
software’s reduce the performance of your Virtual Machine if your Computer is
not powerful enough.
Check Split Virtual Disk into multiple files. This is the
default option. Say if you specify 60 GB, all of 60 GB will not be utilized or
say 60 GB will not be blocked at once. These Virtual Disks expand according to
the usage with a Maximum size you specifed as the disk capacity. On a fresh
install normally it takes 10 GB of space which will grow according to the
software’s you install in the VM.
Step 10- Ready to create Virtual Machine Dialog Box
This is the final dialog box and what you see is all the
options you have selected in previous dialog boxes. You will also see Memory,
Network Adapter and Other Devices. They are the defaults. If you wish to change
them, click on Customize Hardware. You can leave them as defaults for now, they
can be changed later on also once the Virtual Machine is created.
Step 11 – Power on Virtual Machine
Now you will have to power on the virtual machine to start
the process. You can see the option to power on the VM on top left hand side.
Step 12 – Select Graphical Install from Boot Menu
Here you will see many options. Select Graphical Install
using the down arrow key and click continue.
Step 12 – Select a Language
In this dialog box you will be asked to select a language.
Please select a language and continue. This option sets your language in the
Kali Linux Operating system. Default is English.
Step 13 – Select Location
In this dialog box you will be asked to select a Location.
Please select a location and continue. This option sets your Location in the
Kali Linux Operating system. later on, you will be able to set the time zone
based on the location you choose here.
Step 14 – Configure the Keyboard
In this dialog box you will be asked to select the keyboard
layout. Please select a Keyboard layout using the arrow keys and click
continue. This option sets your Keyboard in the Kali Linux Operating system. By
default it is set to American English.
After you click continue, you will see the installation
progresses for some them you see the Network Configuration dialog box, which is
the next step.
Step 15 – Configure the Network – Enter hostmane
In this dialog box you will be asked to enter the hostname
for your system. This being a home network, we can set anything. Enter any
anything and click continue.
Step 16 – Configure the Network – Enter domain name
In this dialog box you will be asked to enter the domain name
for your system. This being a home network, we can set anything like
example.com
Step 17 – Set password for User root
In this dialog box you will be asked to enter the password
for the root user account. Please enter a password of your choice and click
continue.
Step 18 – Enter Username for your account
In this dialog box you will be asked to enter the username
for the account. Please enter a username of your choice and click continue.
Step 19 – Enter Password for your the user account
In this dialog box you will be asked to enter the password
for the user account you created in the last step. Please enter a password of
your choice and click continue.
Step 20 – Configure Clock
In this dialog box you will be asked to time zone based on
the location you selected earlier. Please enter a time zone of your choice and
click continue.
Step 21 – Partition Disk
In this dialog box you are asked how you would like to
partition your disk. Select Guided – Use entire disk and click continue. This
is the default option.
Step 22 – Select disk to partition
In this dialog box you are asked to select a disk to
partition. Select sda, VMware Virtual disk. There should be only one option.
Click Continue.
Step 23 – Select partition scheme
In this dialog box you are asked to select a scheme for disk
partition. Select the default, All files in one partition and click Continue.
Step 24 - Disk partition Overview
In this dialog box you are see the summary of your disk
partition. Select the Finish Partitioning and Write changes to disk which
should be selected by default. All you have to do is to click continue.
Step 25 – Disk partition Confirmation
In this dialog you are asked to confirm Write changes to
disk. Select yes and click continue.
Step 26 – Installation starts
Now the actual installation starts. Wait for Configure the
Package Manager Dialog box to appear.
Step 27 – Configure the package manager
In this dialog box you will ask if you wish to configure
network mirror for Package manager. Choose yes and continue. You canskip this
by selecting NO. But the default option Yes is better.
Step 28 – Configure the package manager – HTTP Proxy
In this dialog box you will ask if you wish to HTTP proxy.
Leave it blank and click continue.
Step 29 – Install GRUB boot loader
In this dialog box you will be asked if you would like to
install the GRUB boot loader. Select Yes and click Continue.
Step 30 – Select device for GRUB boot loader Installation
In this dialog box you will be asked to select boot loader
device for GRUB installation. Select /dev/sda and click Continue.
Step 31 – Select device for GRUB boot loader Installation
Now you will see Installation complete dialog box. Click
continue to finalize the installation and wait for the VM to reboot. After
reboot you will see the login screen. Login with your username or root user and
provide your password. You will then see the Kali Linux desktop.
Step 32 – Switching to Full screen mode
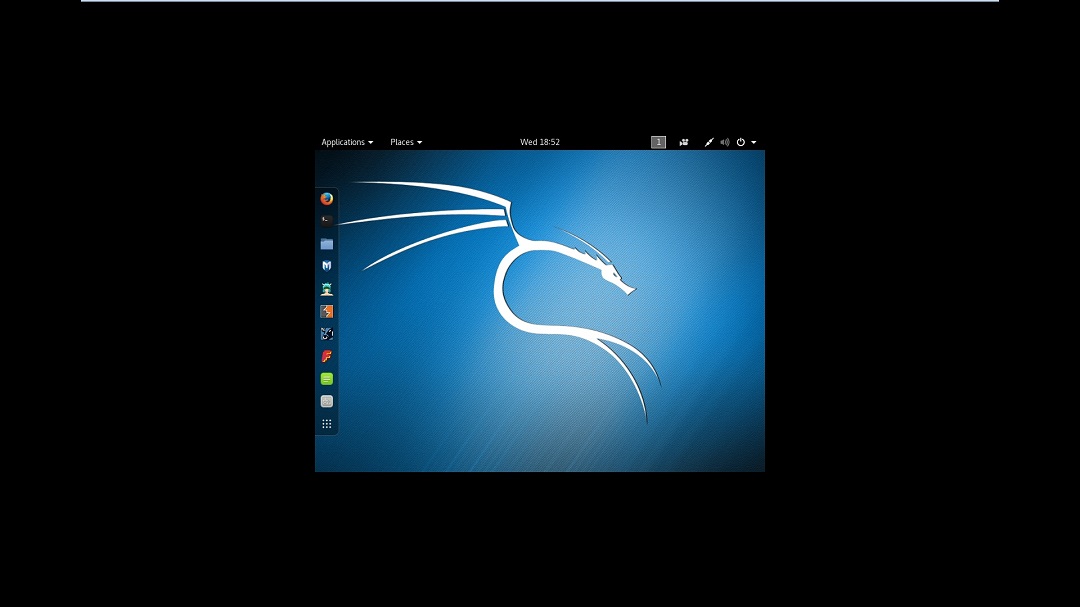
After login, if you want to switch to full screen mode, you
wont be able to. What you will see is the resolution of 800×600 which is the
default resolution. This is because, VMware tools are not installed. Please
follow the below steps to install VMware tools. After the installation and
reboot, you will be able to see the desktop with resolution same as your
computer.
Step 33 – Install VMware Tools
To install the VMware tools, follow the below steps.
If you don’t have internet connection, you can install VMware
tools directly from the VM. If you have internet connection, follow the next instruction
which is easier.
- Goto VM -> Install VMware Tools
- You will see VMware tools Icon on the desktop. If you don’t, then Places->VMwre Tools. Double click to open.
- Copy the file with the file name something like this VMware-tools….tar.gz to the desktop.
- Right click on this file on the desktop and click Extract here. You will see that the file is extracted to the folder vmware-tools-distrib.
- Open terminal by going to System Tools -> terminal
- Goto the folder vmware-tools-distrib on desktop by entering the command cd /Desktop/vmware-tools-distrib
- Now run this command : sudo ./vmware-install.pl -d
- Enter your password and press Enter. You will be asked if you want to proceed with the legacy installer. Enter Y and press Enter.
- Now you will be asked series of questions, just accept the default by pressing Enter for all and wait for the installation to complete.
- Wait for the installation to complete. You will see more prompts, except the defaults by clicking enter.
- Once completed, restart your VM by going to VM->Power->Restart Guest
- Once the system restarts, you will be prompted to login. Once you login, you can see the desktop in full screen mode which stretches up to the complete screen.
- Open Terminal
- Execute the command : sudo apt-get install open-vm-tools-desktop fuse
- Enter your password
- Wait for the process to complete and restart. You are done. Login and now you will see the desktop in full screen mode
If you have internet connection, try this :
You can check the version of installed VMware Tools :
In terminal, execute the command :
vmware-toolbox-cmd -v
This will show you the version number.
In terminal, execute the command :
vmware-toolbox-cmd -v
This will show you the version number.
Process Complete..
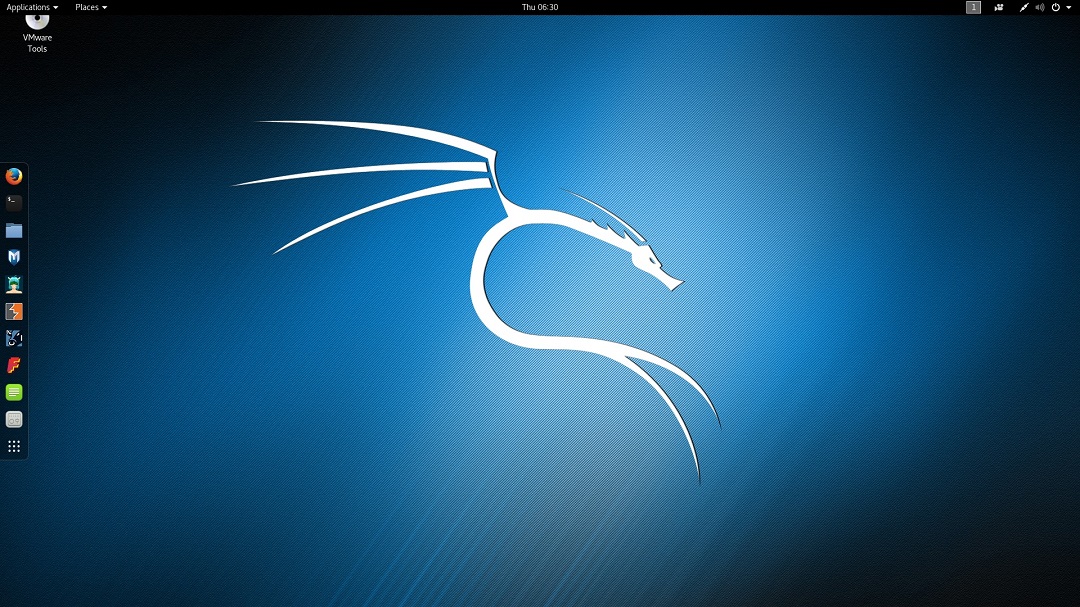
You Are Done !!! Now You Can Start Working on Kali Linux 2016.2.!!!
Please feel free to contact me if you need any Help & don't hesitate to comment below if you have any questions...
You May Also Like :
Hacking With Kali Linux (Full Guidance For Beginners)
Kali-NetHunter - Turn Your Android Phone into a Hacking Machine
How To Install & Run Kali Linux On Any Android Smartphone?
Please feel free to contact me if you need any Help & don't hesitate to comment below if you have any questions...
You May Also Like :
Hacking With Kali Linux (Full Guidance For Beginners)
Kali-NetHunter - Turn Your Android Phone into a Hacking Machine
How To Install & Run Kali Linux On Any Android Smartphone?
and if you like this post please like & share
with your friends...
& Don't Forget To....
Like Our Facebook Page : www.facebook.com/thehackingsage
Join Our Facebook Group : www.facebook.com/groups/thehackingsage
Follow Us at Twitter : www.twitter.com/thehackingsage
Follow Us at Instagram : www.instagram.com/thehackingsage
Subscribe Our You Tube Channel : www.youtube.com/c/THEHACKiNGSAGE4U
Keep Visiting... Enjoy !!! :)
Labels: Downloads, Hacking Lab, Hacking Tips, Hacking Tools, Hacking Tricks, How To, Kali, Linux, PC Software, VMware
posted by Mr. SAGE @ January 21, 2017
0 Comments


